In this lesson, we will focus on getting your environment set up.
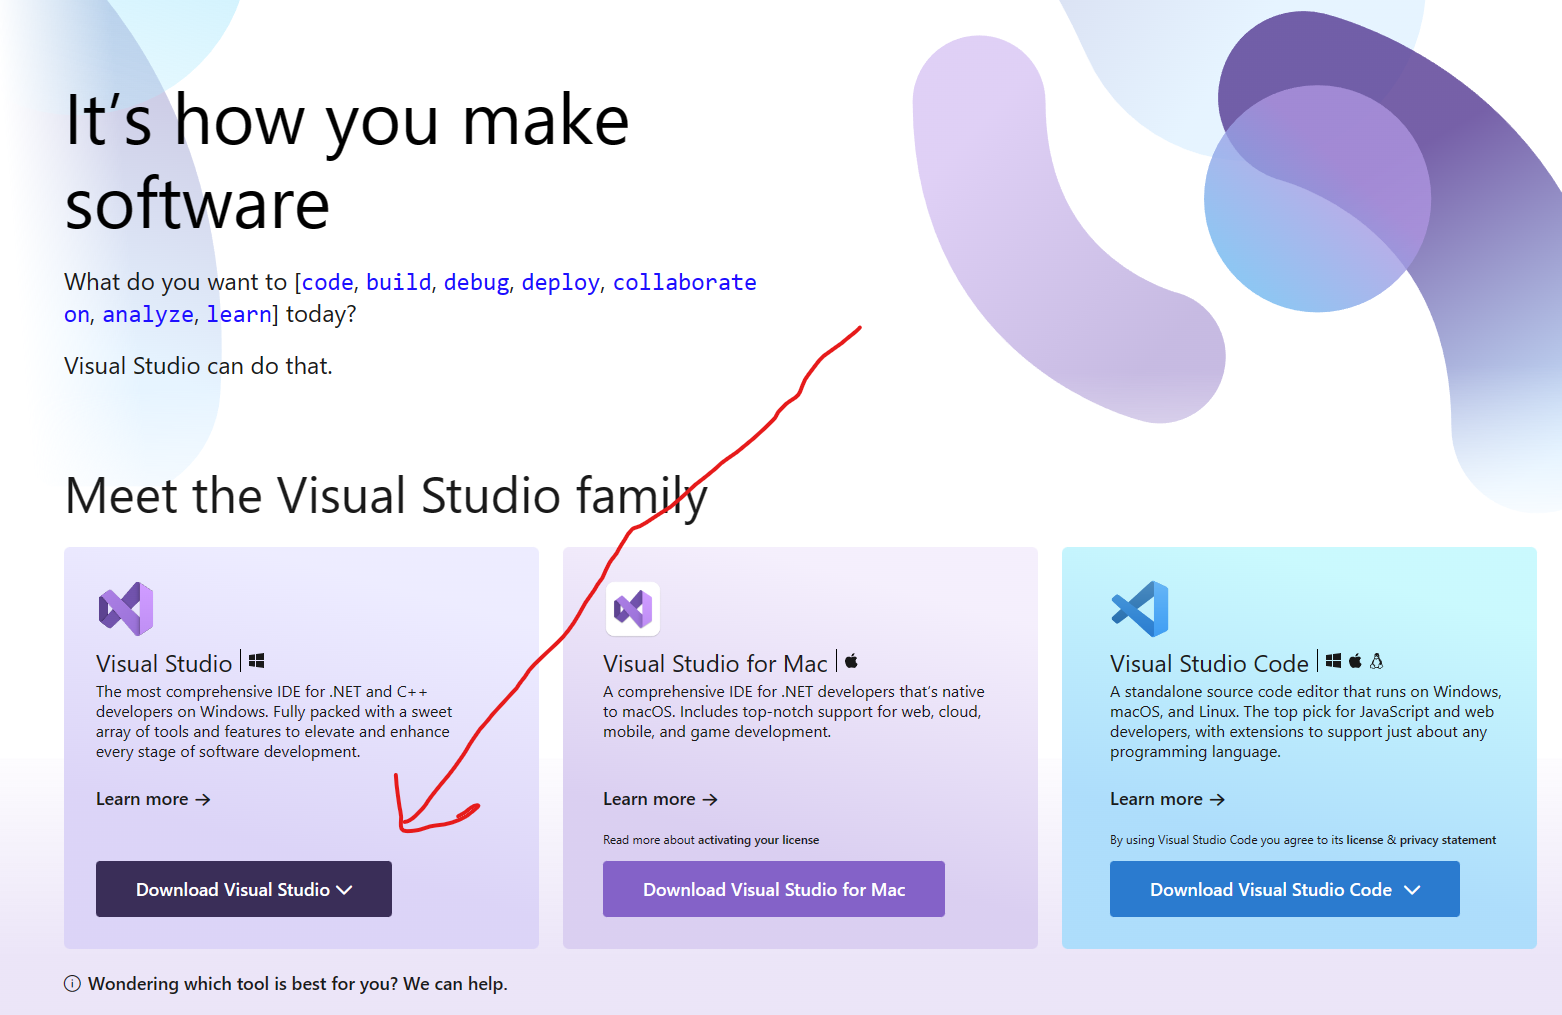
To start with, head over to https://visualstudio.microsoft.com/ and download Visual Studio here:
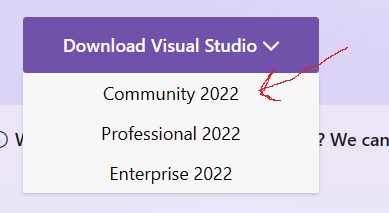
You'll want the Community Edition:
Once you begin the installation, you will be given the opportunity to choose what to install. Here are the options I recommend:
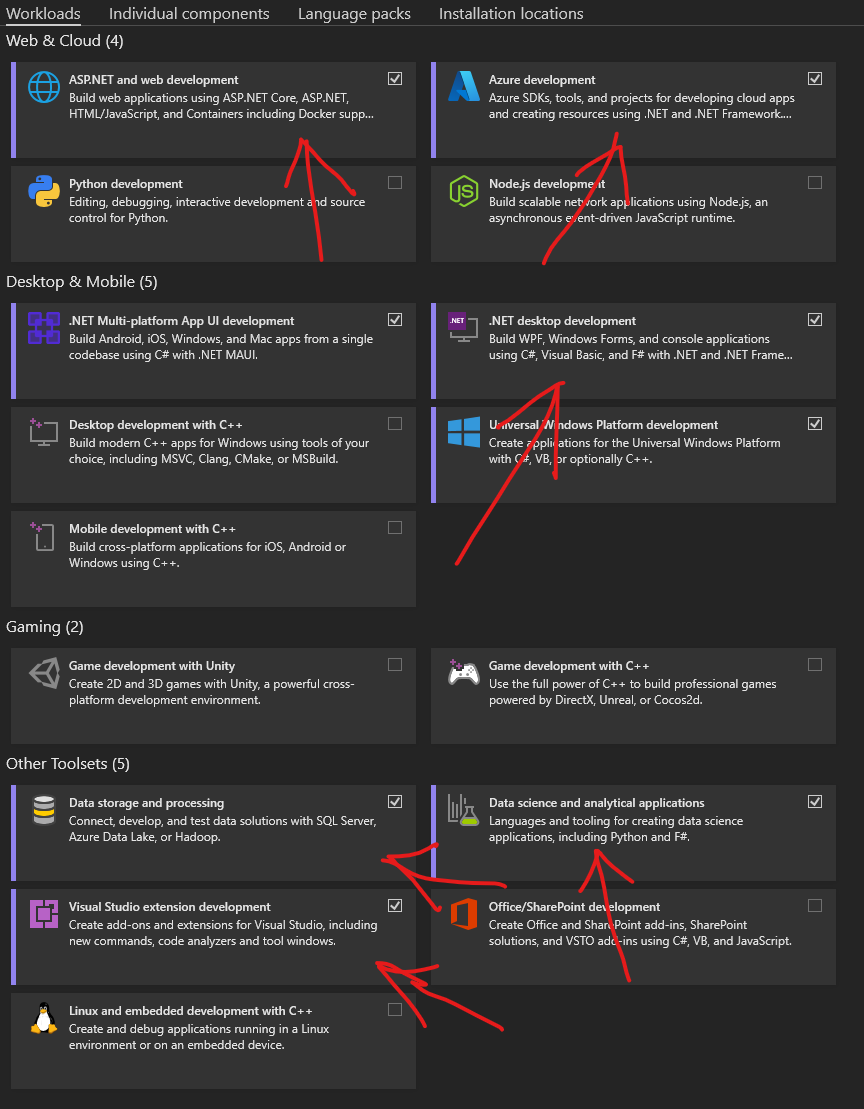
Feel free to install all you want, but it will increase the installation time. (Especially the C++ things, which we will not be using!)
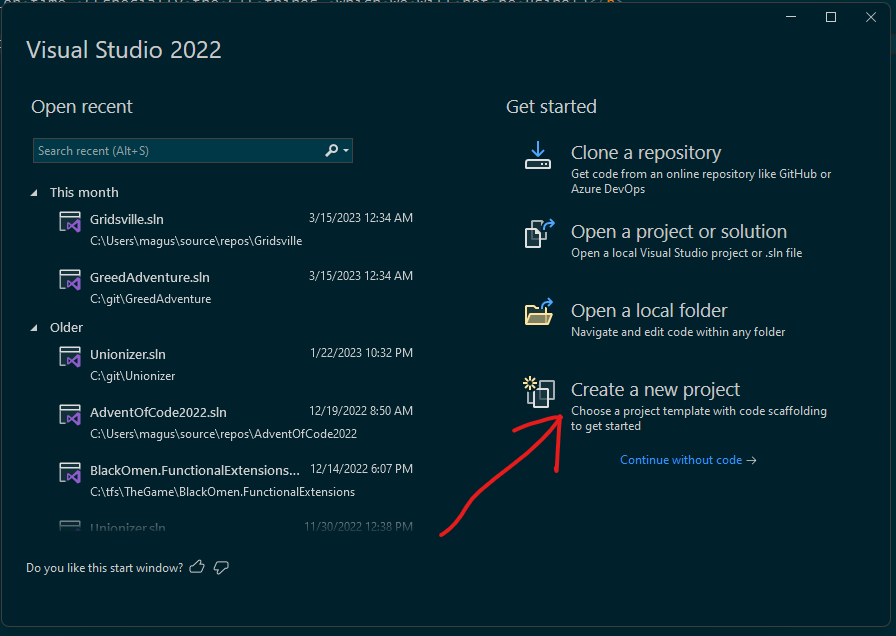
Now that you have everything installed, it is time to launch Visual Studio!
In the window that usually comes up next, you'll want to start a new project:
You'll want to start a Console App:
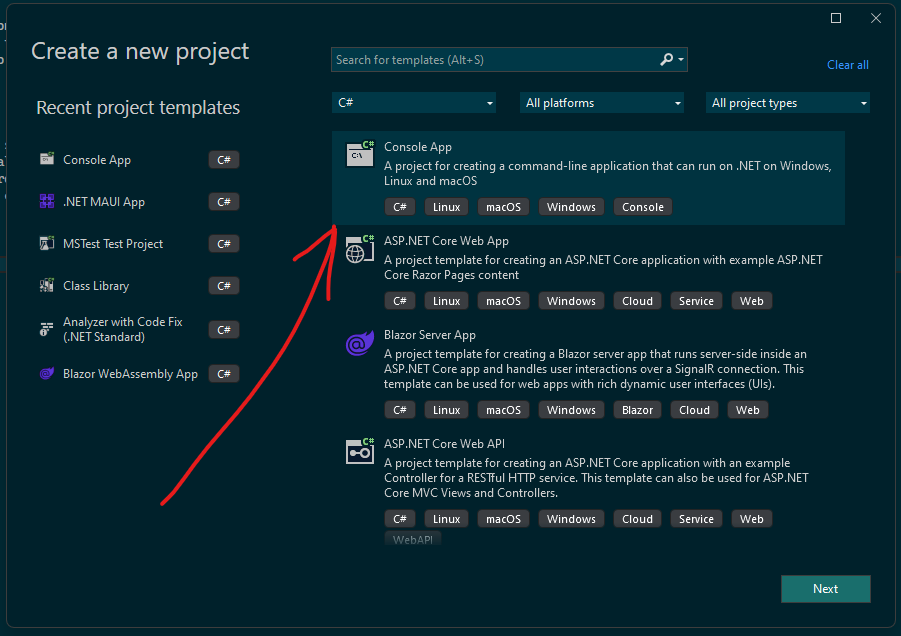
If you don't see it, you should be able to search for it. Make sure to choose the C# option and not the Visual Basic .NET version!
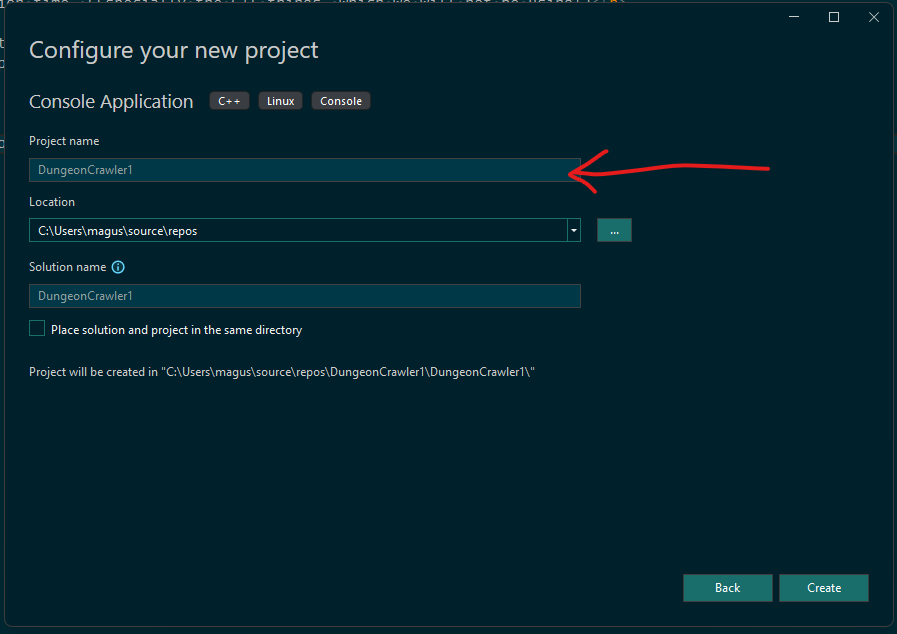
Choose whatever name you want, and let the solution name fill in automatically.
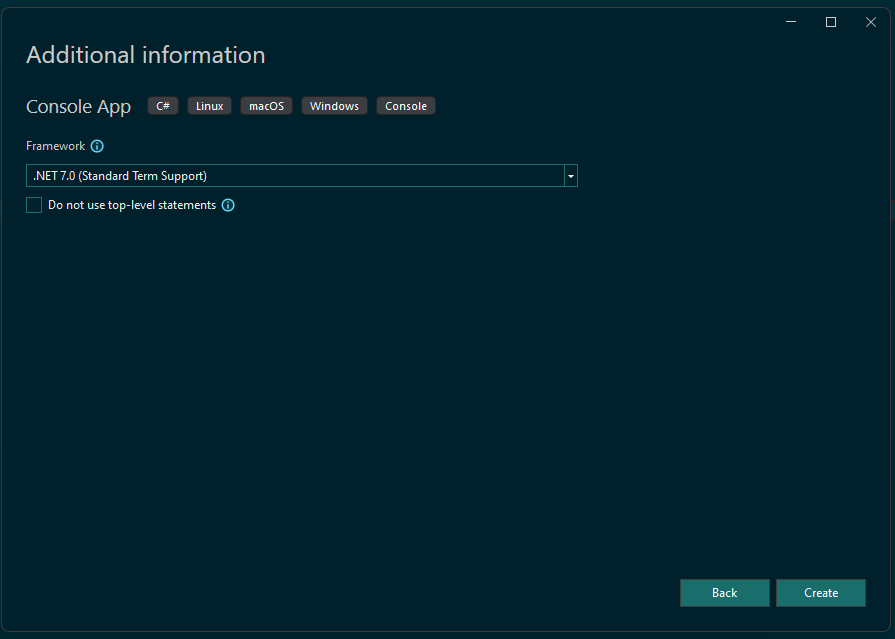
In the framework selection, choose the latest version you can. If that is not at least 7.0, you might have to find that in the "Individual Components" section of the Visual Studio Installer (which you can re-open any time).
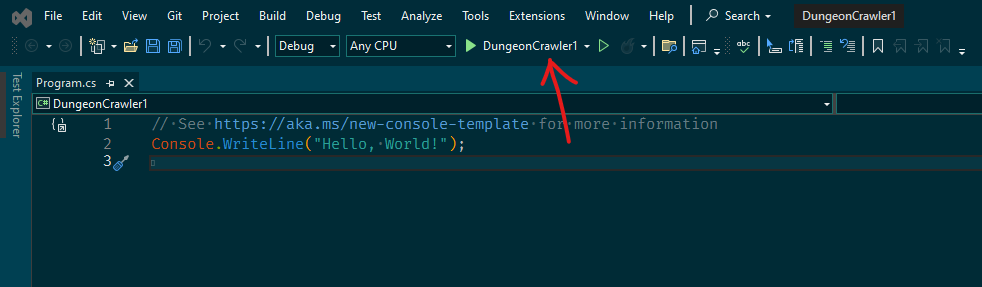
Congratulations! You now have your first C# project! You should see a file called Program.cs.
Click the run button to start your console application, which will display the text "Hello, World!" - you should also be able to press F5 or CTRL+B, depending on the default settings.
This concludes the introduction! Note that all code samples in this project will be provided in image form. You have to type them!