The extra lessons are all about additional things you may want to learn about. Most of them are less important than trying to solve problems on your own or with a friend for now and looking things up. However, this first lesson will teach you about tools that help when working with others.
Source control software, also known as version control, does more than the name implies. This is possibly the most important software you will ever use as a programmer. The current most popular software for this is known as git.
What it does for you is allow you to group changes you make to code with a label explaining them, and share those changes to other users or back them up. It also helps manage cases where there are conflicts between the change you and another user make to the code.
During your Visual Studio installation, you most likely installed git. If not, you should be able to modify your installation and include it using the Visual Studio installer. I recommend assuming it works and coming back here if you have a problem.
While git can be used on a single machine or in a local network, or anywhere else you might want to try it. Let's get started.
Github is the most popular place to host your git repository. Start by making an account. Once you've done that, you can set up a new repository with the widget below.
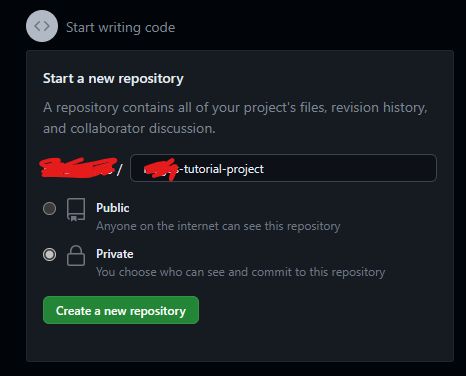
You can make your repository public or private. Either one is fine for now. Then you'll arrive at a page that contains the section below:

Copy the address from that box with the two squares button, and then launch a new instance of Visual Studio, and choose this:

Paste the URL you copied into the first box, and you may want to move the second box to something higher level, like 'C:\git'.
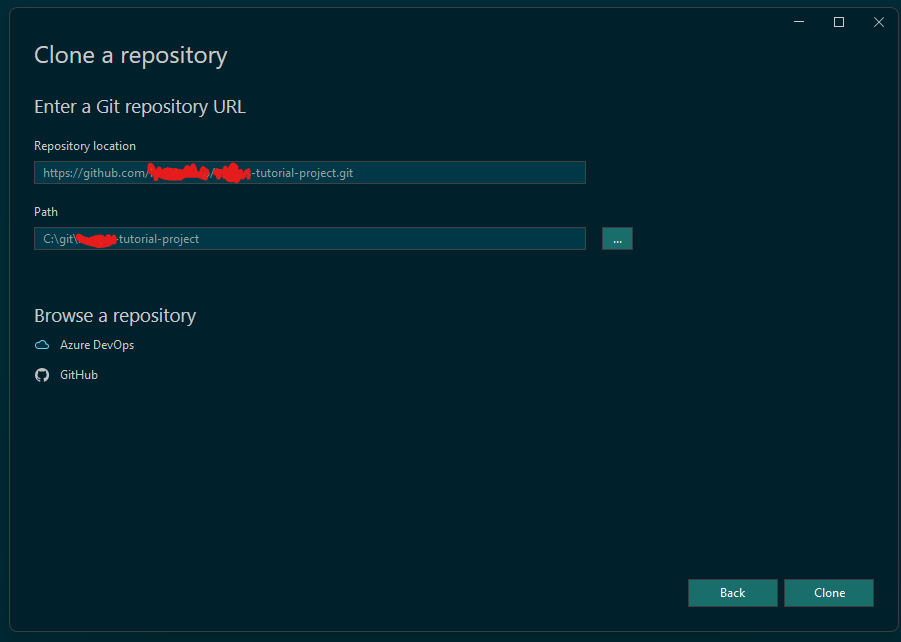
Press clone, and you may have to log into something. Once you do, copy your dungeon crawler project you've built so far into there like this:
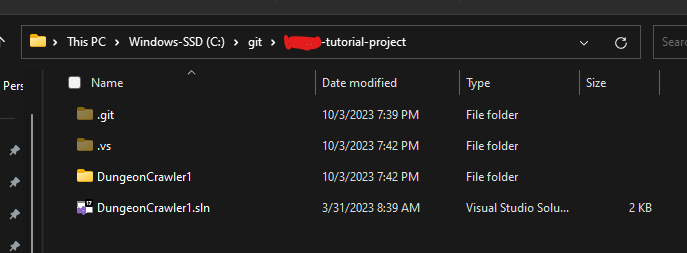
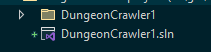
Either in the Visual Studio instance from before or in a new one, or by double clicking your solution (.sln) file, open your project:
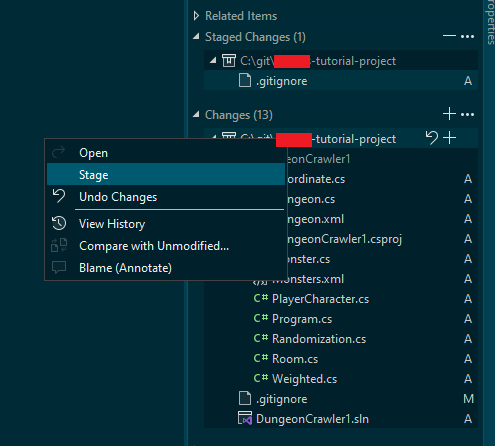
Once you do, open up your git changes window (1) to see something like this:
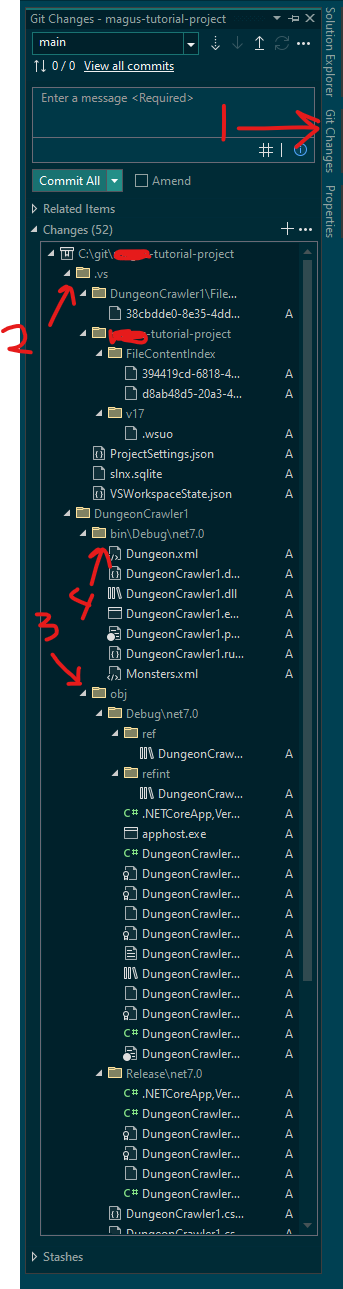
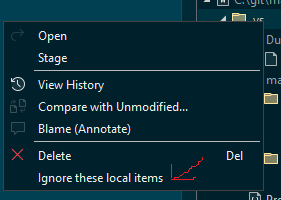
On all of the numbered things here, do the following to keep them from being checked in, since they change a lot and are generated:
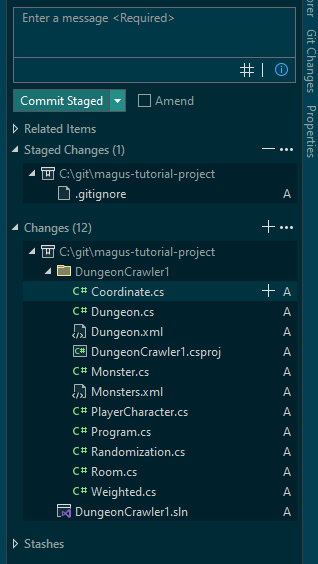
You should now have something that looks more like this:
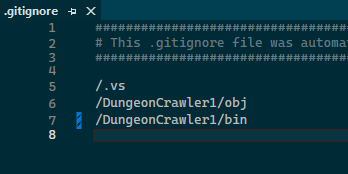
While we're at it, change that top gitignore file from:
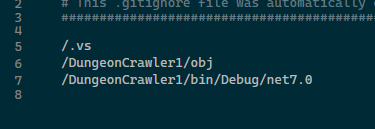
To:
Stage all the changes here (mostly to get them all together) after right clicking on the top level like this:
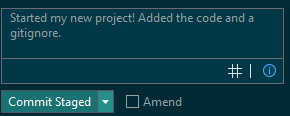
Commit your changes with a nice comment:
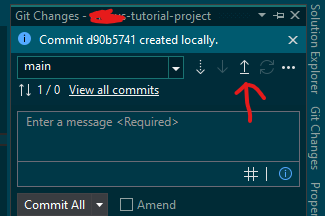
Press this button to send your code to git, and you're done for now!
From now on, you can make a few changes, add a commit message, commit them, and whenever you're ready, push them to github.
Later on you'll need to learn about branches, but this is enough to work alone or with another person. They can clone this the same way you did, if they have access to your project. This may involve a bunch of permission settings you don't understand yet, but you can read about them in various places. What matters is that now you can get started!